使用前的修改
大约 3 分钟
注意
我的环境J4125,PVE7.2-3
在开始前对系统进行一些本地化修改
换源
将系统默认的源换为清华源
apt软件源 7.*
将/etc/apt/sources.list内容替换为
deb https://mirrors.tuna.tsinghua.edu.cn/debian/ bullseye main contrib non-free
# deb-src https://mirrors.tuna.tsinghua.edu.cn/debian/ bullseye main contrib non-free
deb https://mirrors.tuna.tsinghua.edu.cn/debian/ bullseye-updates main contrib non-free
# deb-src https://mirrors.tuna.tsinghua.edu.cn/debian/ bullseye-updates main contrib non-free
deb https://mirrors.tuna.tsinghua.edu.cn/debian/ bullseye-backports main contrib non-free
# deb-src https://mirrors.tuna.tsinghua.edu.cn/debian/ bullseye-backports main contrib non-free
deb https://mirrors.tuna.tsinghua.edu.cn/debian-security bullseye-security main contrib non-free
# deb-src https://mirrors.tuna.tsinghua.edu.cn/debian-security bullseye-security main contrib non-free
PVE软件源
将/etc/apt/sources.list.d/pve-enterprise.list替换为
deb https://mirrors.tuna.tsinghua.edu.cn/proxmox/debian bullseye pve-no-subscription
apt软件源 8.*
/etc/apt/sources.list
deb https://mirrors.tuna.tsinghua.edu.cn/debian bookworm main contrib
deb https://mirrors.tuna.tsinghua.edu.cn/debian bookworm-updates main contrib
deb https://mirrors.tuna.tsinghua.edu.cn/debian-security/ bookworm-security main contrib
/etc/apt/sources.list.d/ceph.list
deb https://mirrors.tuna.tsinghua.edu.cn/ceph/debian-quincy/ bookworm no-subscription
/etc/apt/sources.list.d/pve-enterprise.list
deb http://download.proxmox.wiki/debian/pve bookworm pve-no-subscription
lxc软件源
执行下面这句指令
sed -i 's|http://download.proxmox.com|https://mirrors.tuna.tsinghua.edu.cn/proxmox|g' /usr/share/perl5/PVE/APLInfo.pm
删除 local-lvm 分区
避免空间浪费,而且 PVE 首页上显示的空间剩余指的是 local 分区,推荐新装 PVE 时进行设置
lvremove pve/data
lvextend -l +100%FREE -r pve/root
在这里将local-lvm删除 然后编辑local分区,内容全选
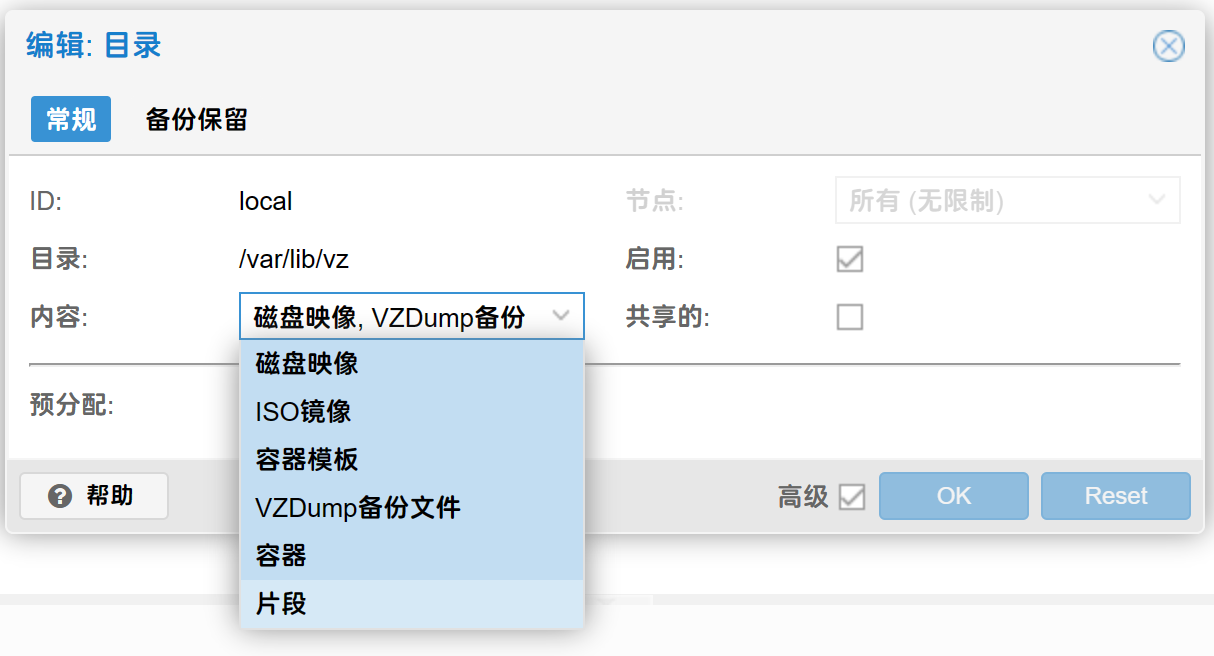
功耗节能
PVE默认的CPU电源策略是性能模式
# 查看支持的 CPU 电源模式
cat /sys/devices/system/cpu/cpu0/cpufreq/scaling_available_governors

# 查看当前的 CPU 电源模式
cat /sys/devices/system/cpu/cpu0/cpufreq/scaling_governor
几种电源模式的解释说明:
| 电源模式 | 解释说明 |
|---|---|
| performance | 性能模式,将 CPU 频率固定工作在其支持的较高运行频率上,而不动态调节。 |
| userspace | 系统将变频策略的决策权交给了用户态应用程序,较为灵活。 |
| powersave | 省电模式,CPU 会固定工作在其支持的最低运行频率上。 |
| ondemand | 按需快速动态调整 CPU 频率,没有负载的时候就运行在低频,有负载就高频运行。 |
| conservative | 与 ondemand 不同,平滑地调整 CPU 频率,频率的升降是渐变式的,稍微缓和一点。 |
| schedutil | 负载变化回调机制,后面新引入的机制,通过触发 schedutil sugov_update 进行调频动作。 |
调整 CPU 模式
首先得安装 cpupower:
apt install linux-cpupower
下面是 cpupower 的一些常用命令:
# CPU实时频率查看
watch -n 1 cpupower monitor

# 查看当前所有CPU的信息
cpupower -c all frequency-info

# 设置所有CPU为节能模式
cpupower -c all frequency-set -g powersave

# 设置所有CPU为性能模式
cpupower -c all frequency-set -g performance
设置为系统服务 /usr/lib/systemd/system/cpupowersave.service
[Unit]
Description=Configure CPU power related settings
After=syslog.target

[Service]
Type=oneshot
RemainAfterExit=yes
ExecStart=/usr/bin/cpupower -c all frequency-set -g powersave
ExecStop=/usr/bin/cpupower -c all frequency-set -g performance

[Install]
WantedBy=multi-user.target
命令
重新加载
systemctl daemon-reload
开机自动启动
systemctl enable cpupowersave
当前启动
systemctl start cpupowersave
Powered by Waline v2.14.4